Uchwyt na kubki / Euro Cupholder
Potrzebne narzędzia:
1. śrubokręt TORX T20 (najlepiej jeden bardzo krótki, jeden długi i jeszcze giętki wężyk),
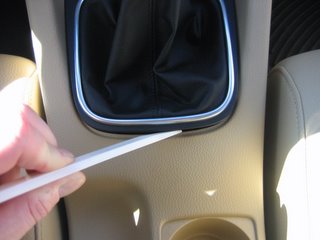
2. coś do podważania plastików (tu się to nazywa dog-bone, czyli psia kość :-).
Potrzebny czas: około 2 godzin
---
Tools required:
1. Screwdriver TORX T20 (possibly one very short, one very long and one flexible),
2. trim removal wedge (dog-bone),
Time required: about 2 hours.

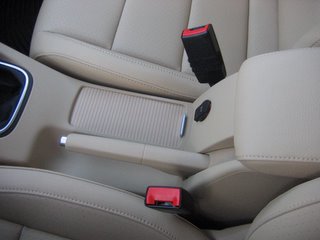
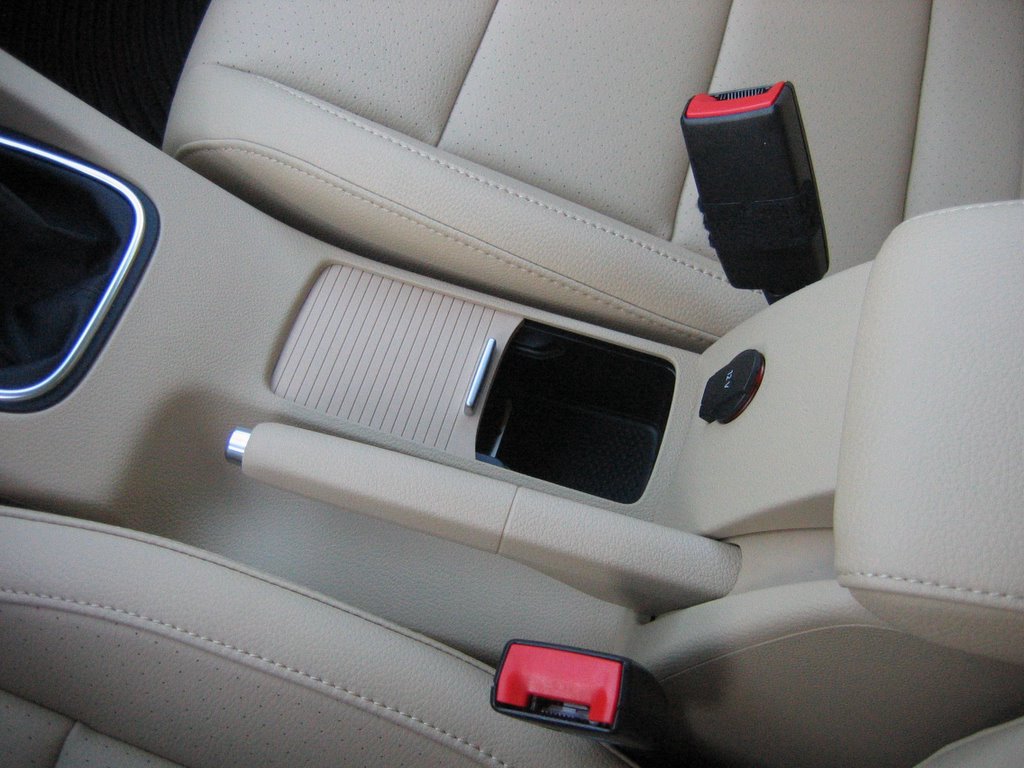
Oryginalny uchwyt na kubki. / Factory mounted cupholder.
* * *
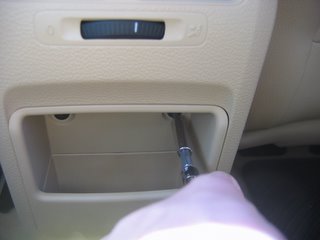
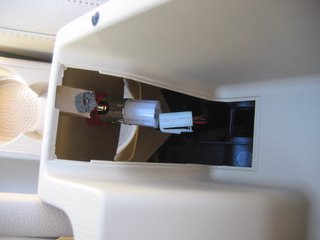
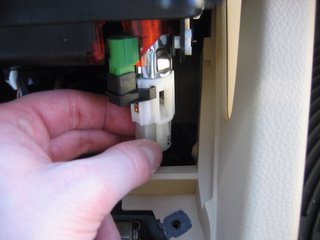
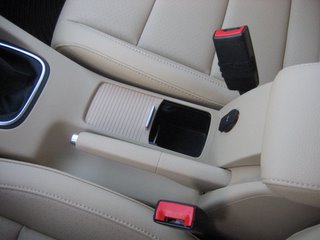
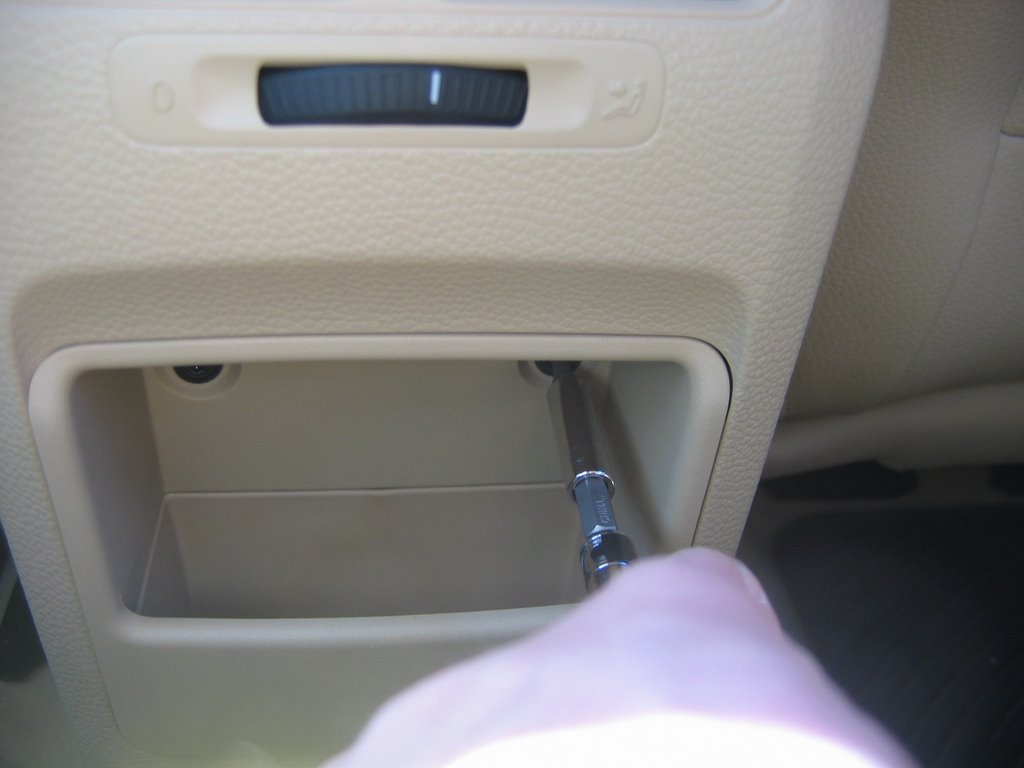
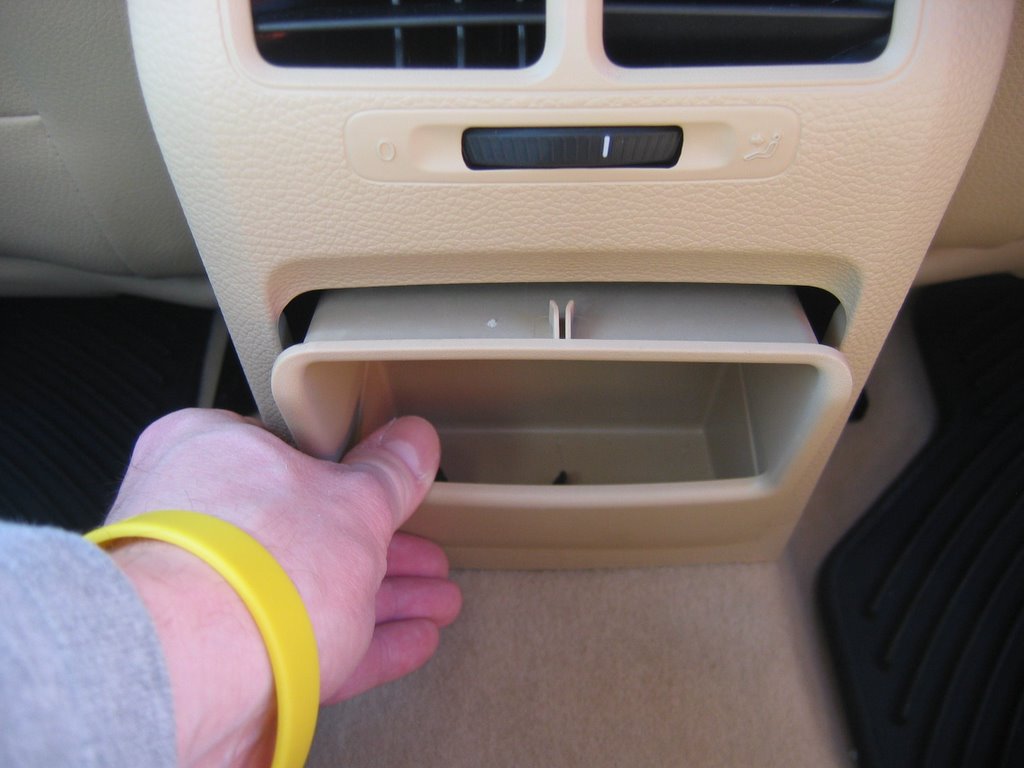
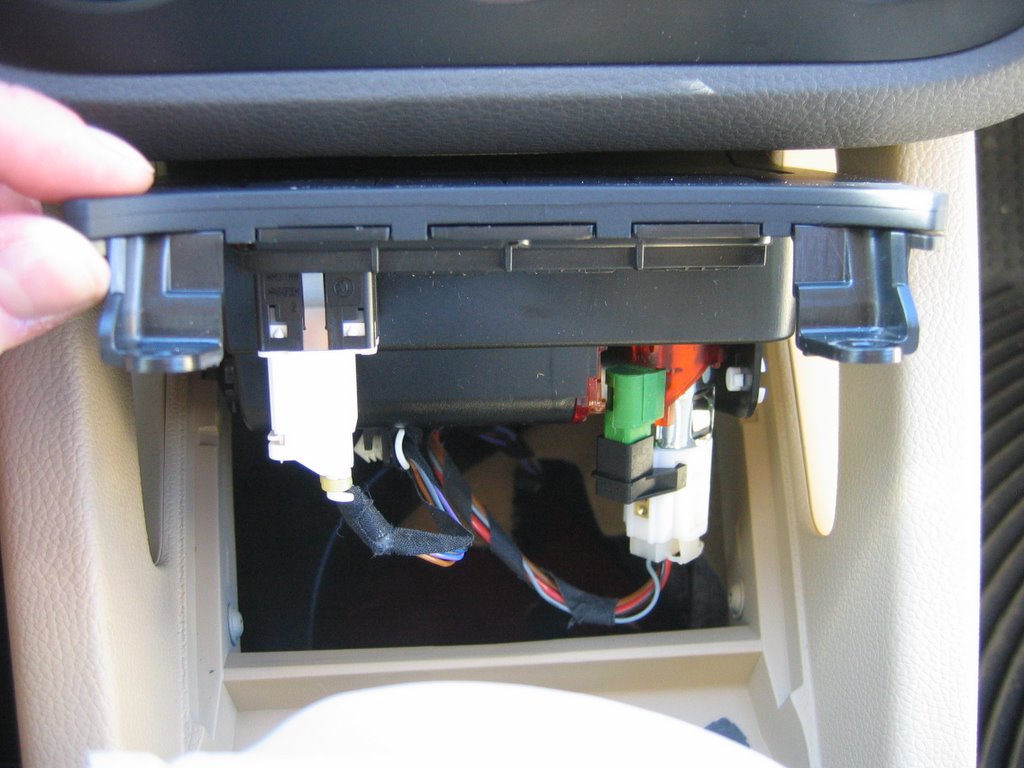
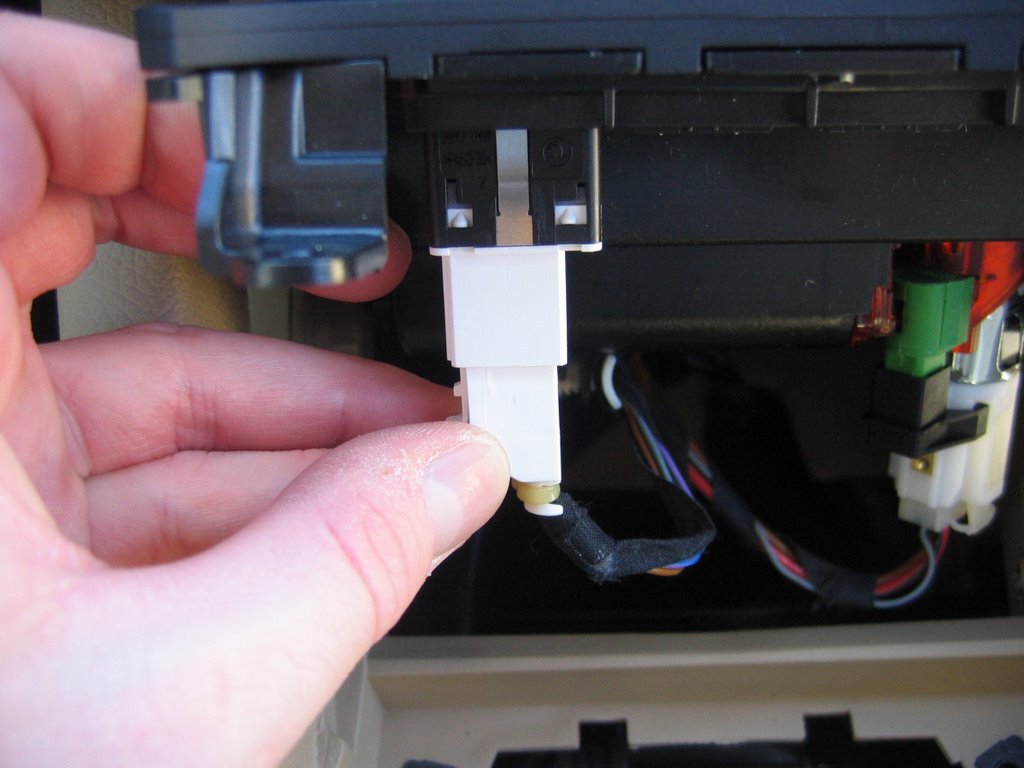
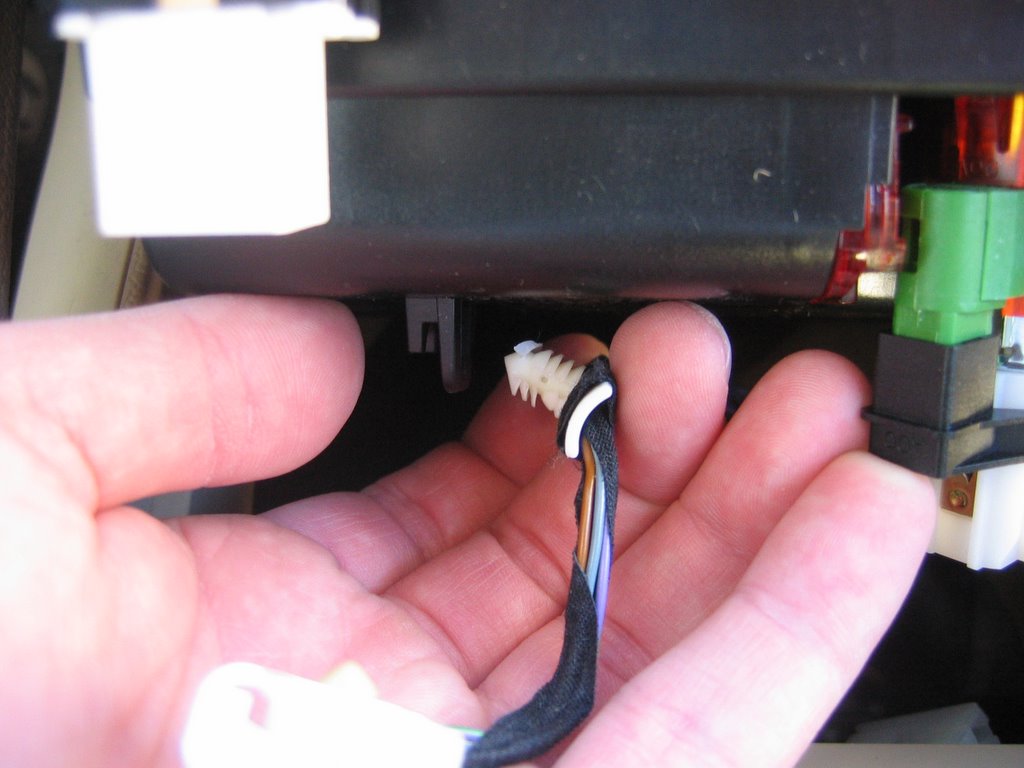
1. Wyjęcie klimatyzowanego schowka. / Removing cooled storage compartment.


* * *
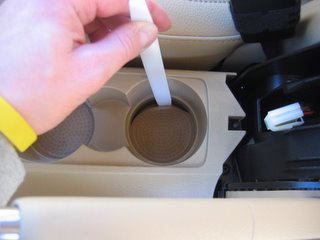
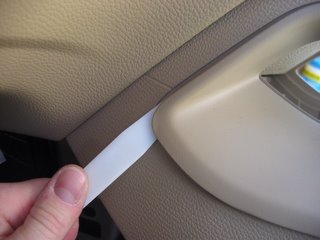
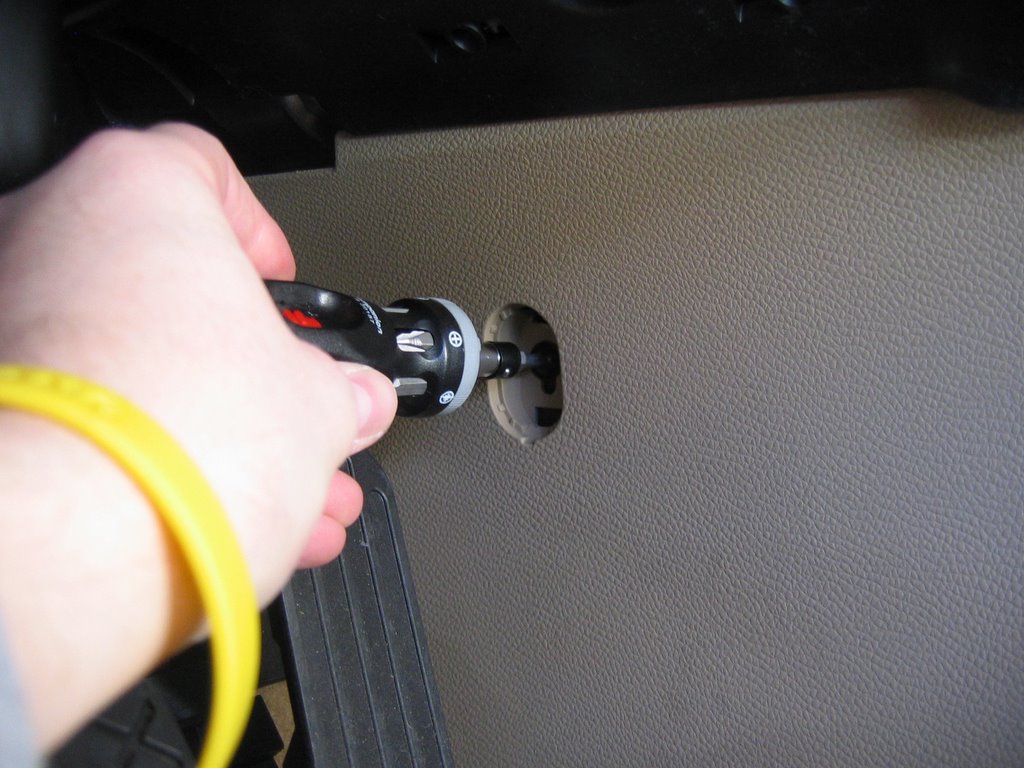
2. Poluzowanie środkowej konsoli. / Loosening the center console.
Konsola jest przymocowana 9 śrubami: 4 z przodu, 4 z boku i 1 z tyłu. Trzeba wcześniej zdemontować popielniczkę i dwie boczne plastikowe osłony, a także wyjąć wewnętrzne części bocznych uchwytów na konsoli.
---
The center console is attached with 9 bolts: 4 in front, 4 on the sides and 1 at the back. In order to loosen it, it is necessary to remove the ashtray and footwell trims, as well as internal trim panels of the console handles.


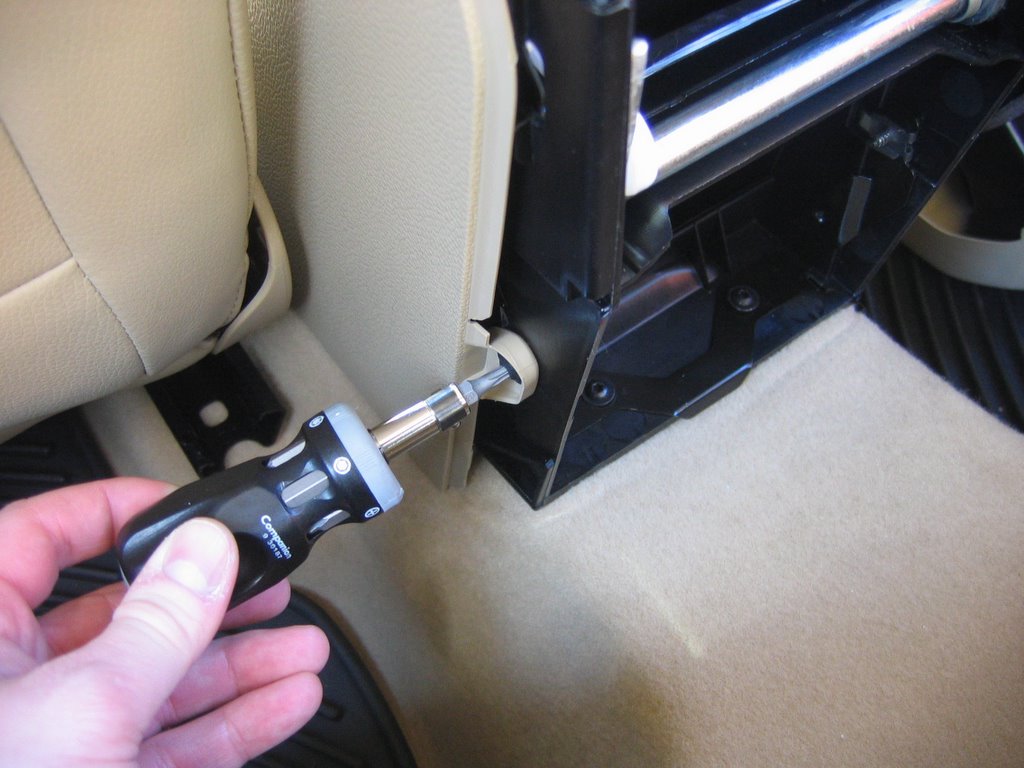
Dwie śruby, którymi konsola jest przymocowana z boku. / Two screws mounting the console from both sides.

Tylna śruba mocująca konsole. / The console's rear screw.


Dwie śruby mocujące konsolę z przodu. / Two front mounting screws.
* * *
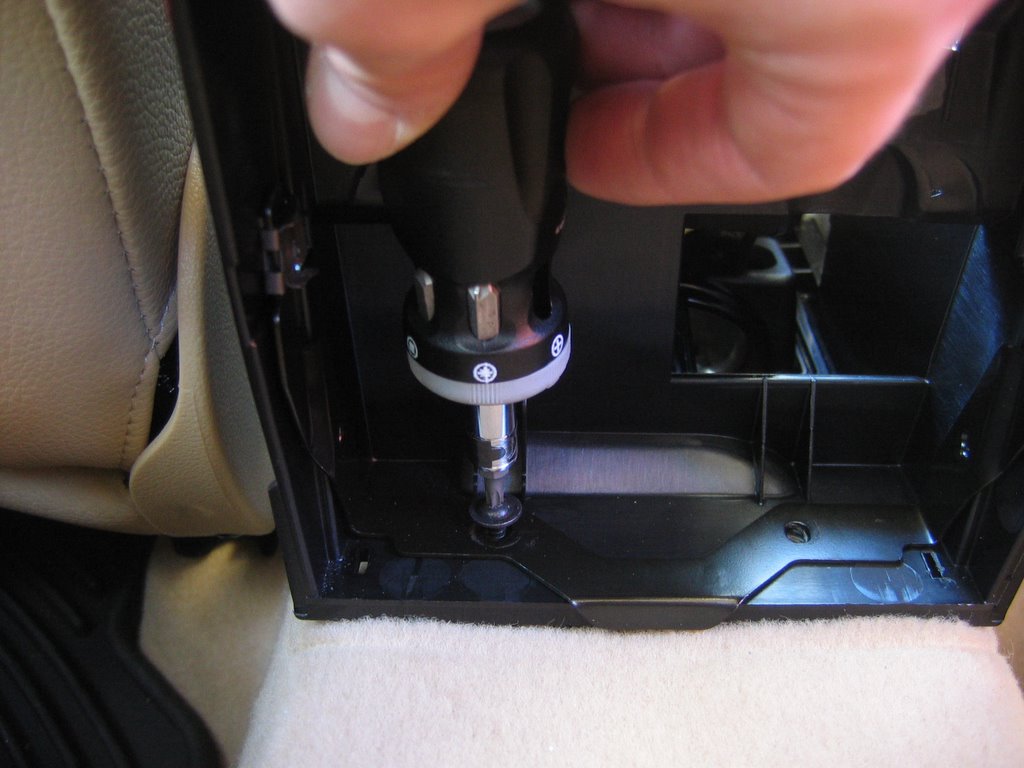
3. Wyjęcie wspornika podłokietnika. / Removing carrier for center console.
Wspornik podłokietnika jest przymocowany 7 śrubami: 2 z tyłu, 2 w części centralnej (dostępne z góry i z boku), 2 w części przedniej (dostępne z boku) i 1 z przodu.
---
The carrier is attached with 7 bolts: 2 at the back, 2 in the middle (available from the top and from the sides), 2 in the front area (available from the sides) and 1 in front.

Tył / Back
* * *

Lewy środek / Middle left
* * *
Przód / Front
* * *

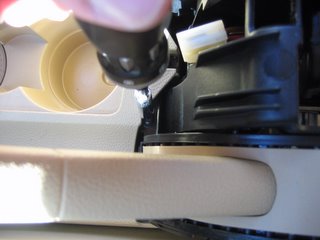
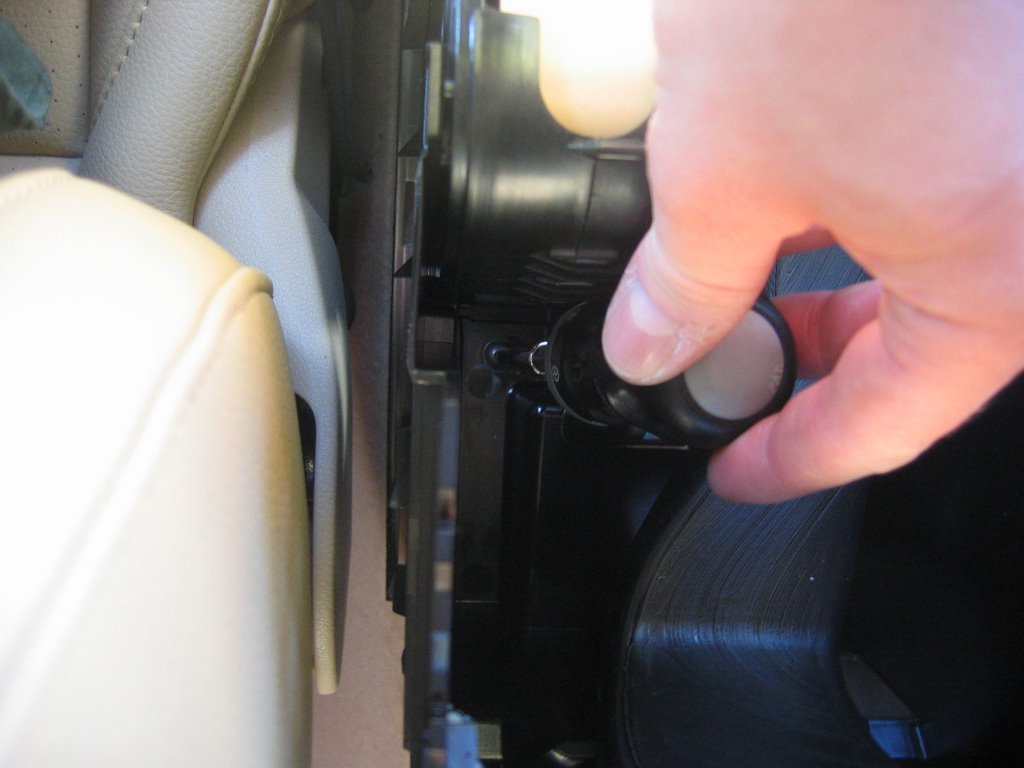
Prawy środek / Middle right
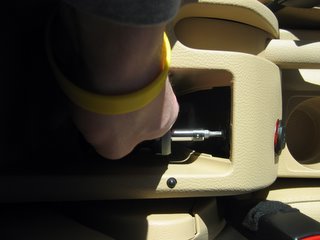
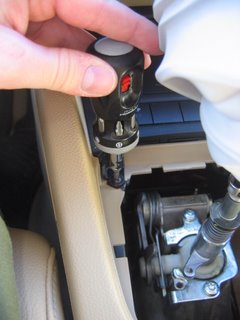
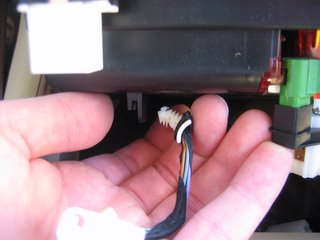
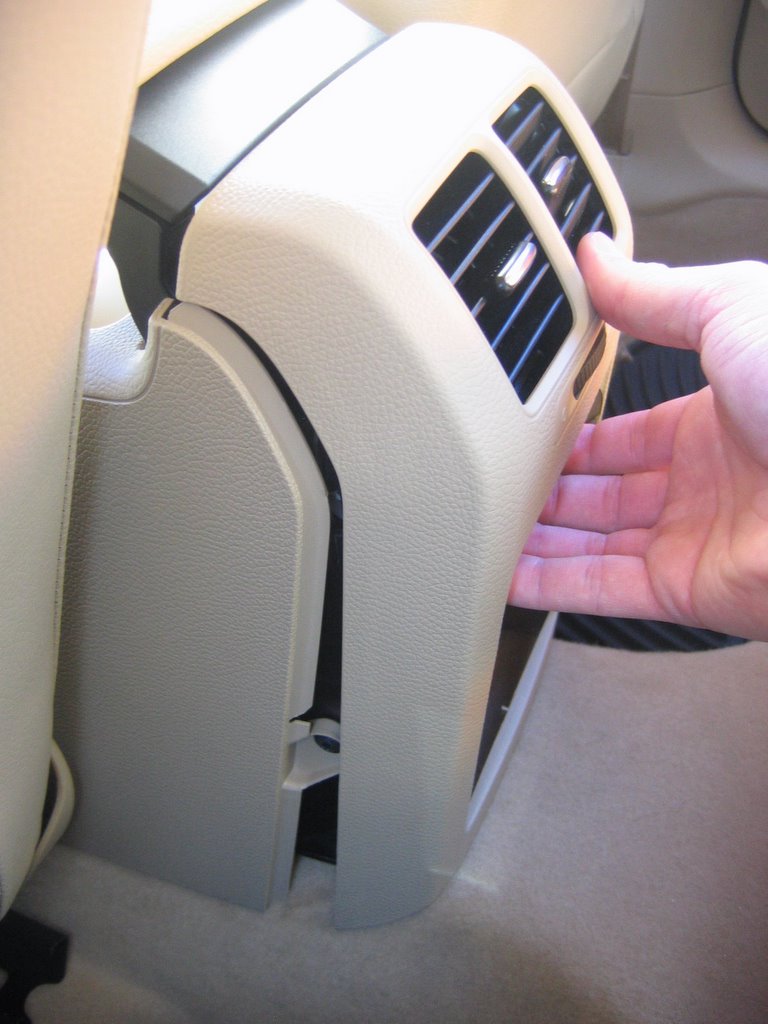
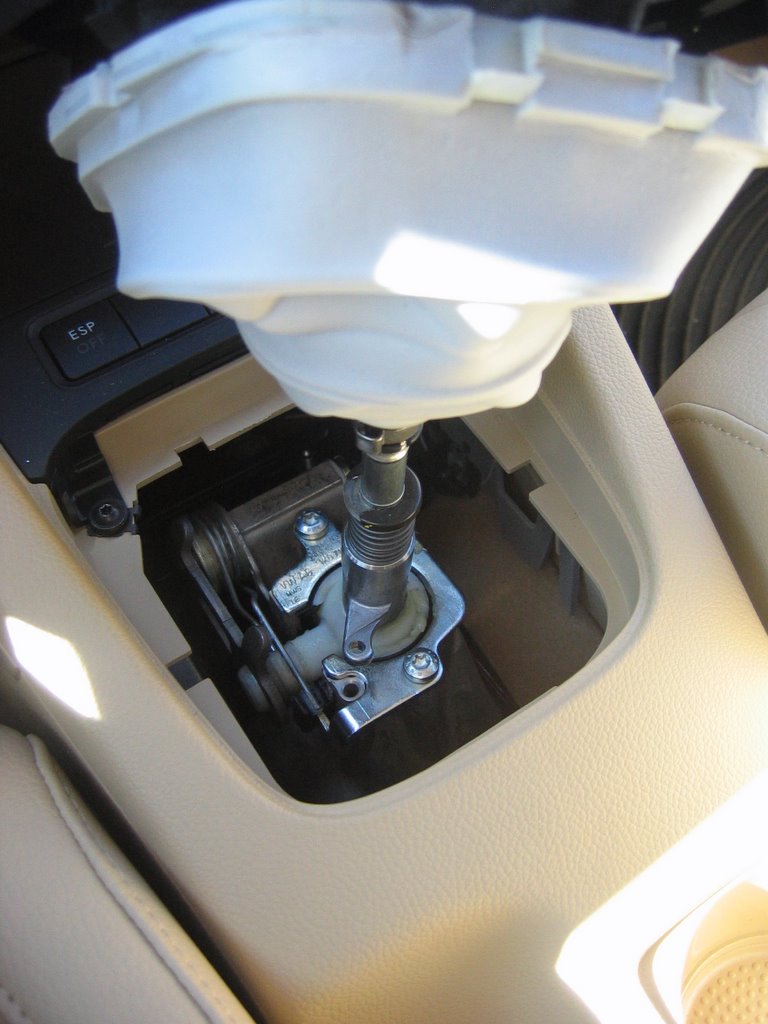
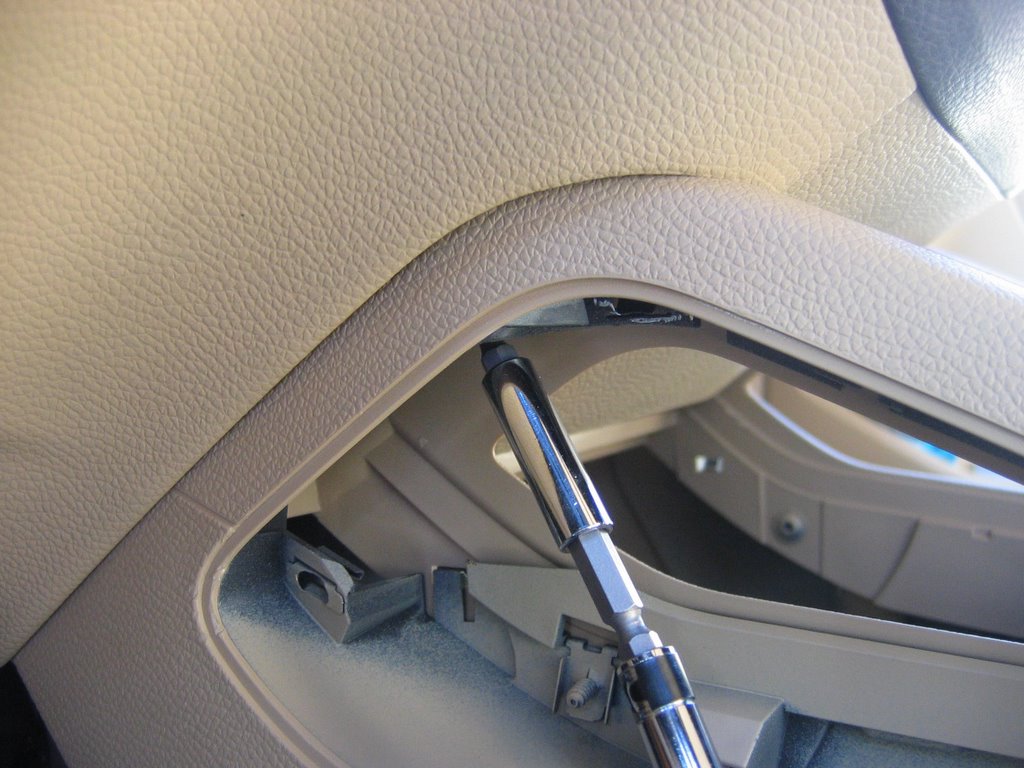
Żeby odkręcić tą śrubę, należy podnieść do góry rurę nawiewu powietrza, która jest przymocowana na zatrzask do wspornika podłokietnika. / In order to remove this bolt it is necessary to pull up the air duct latched to the carrier.
* * *
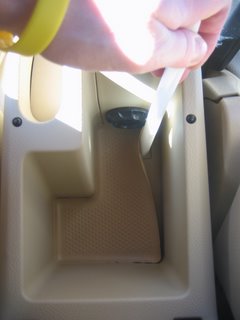
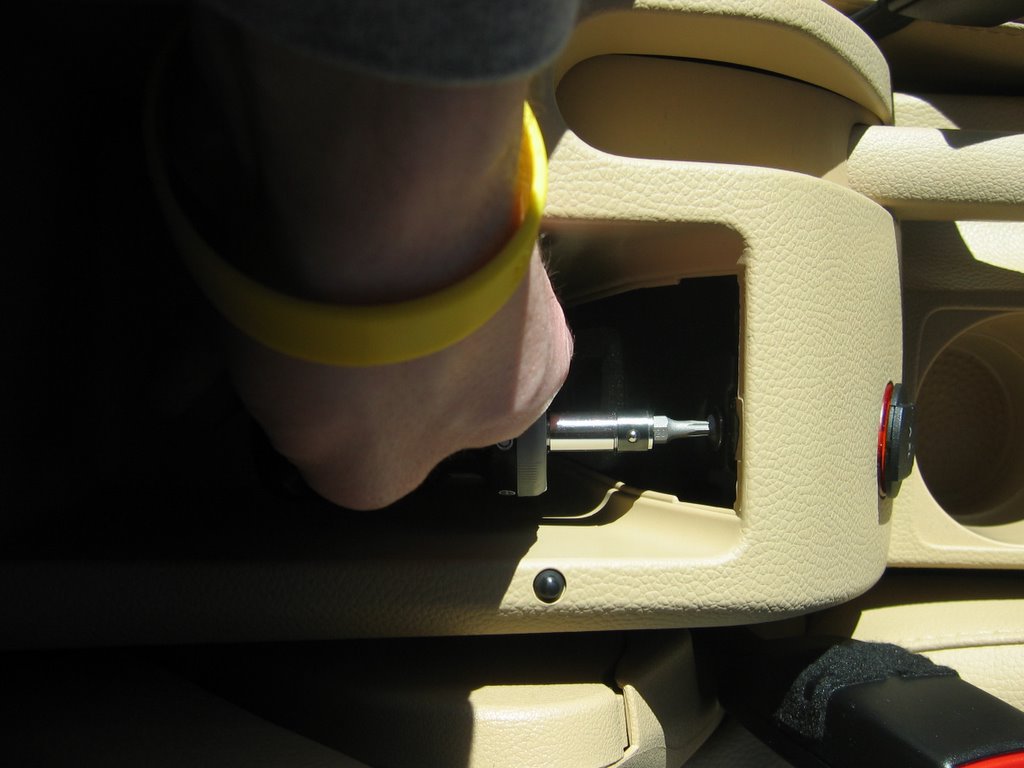
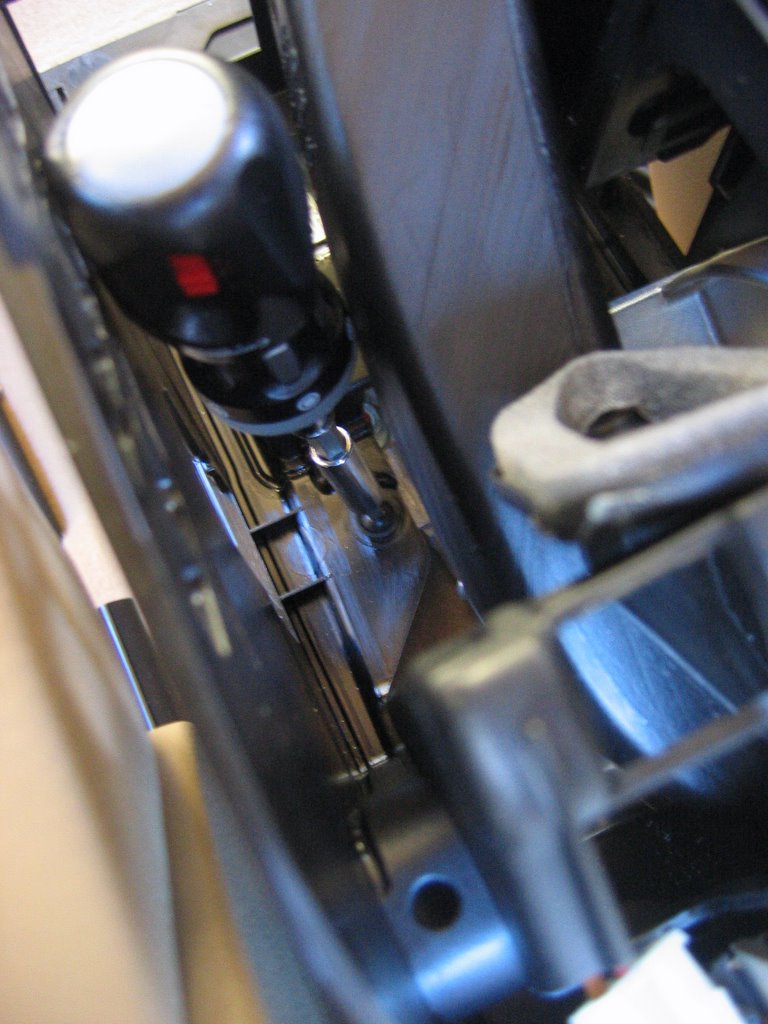
W tym miejscu padły mi baterie w aparacie, a ponieważ robiło się późno, to stwierdziłem, że wolę skończyć robotę, a potem myśleś o zdjęciach. W każdym razie są jeszcze dwie śruby z przodu z boków (widoczne po obniżeniu foteli). Potem wyciągamy cały czarny wspornik razem z rurą nawiewu i środkowa konsola jest już na tyle luźna, że można udkręcić dwie śruby mocujące uchwyt na kubki. Tylna śruba jest widoczna na zdjęciach, przednia jest schowana, ale można się do niej dostać przez otwór na lewarek krótkim śrubokrętem. Uchwyt na kubki wysuwa się do przodu. A potem składamy wszystko w odwrotnej kolejności.
---
At this moment batteries in my camera died. As it was getting late, I decided to complete my work first, and then take pictures. Anyway, there are two more bolts on the sides in the front part of the carrier (available after lowering the seats). Next the whole carrier and the air duct can be removed. The center console is loosen enough to allow to unbolt the cupholder, mounted with two bolts. The rear one can be seen on the pictures, while the front one is accessible through the lever hole with the short screwdriver. The cupholder slides out frontwise. Installation is the reverse order.
* * *
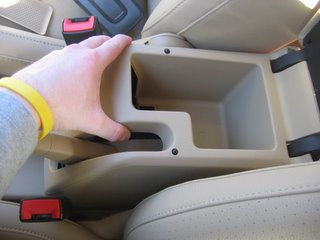
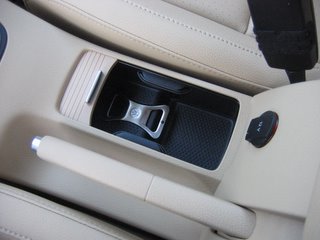
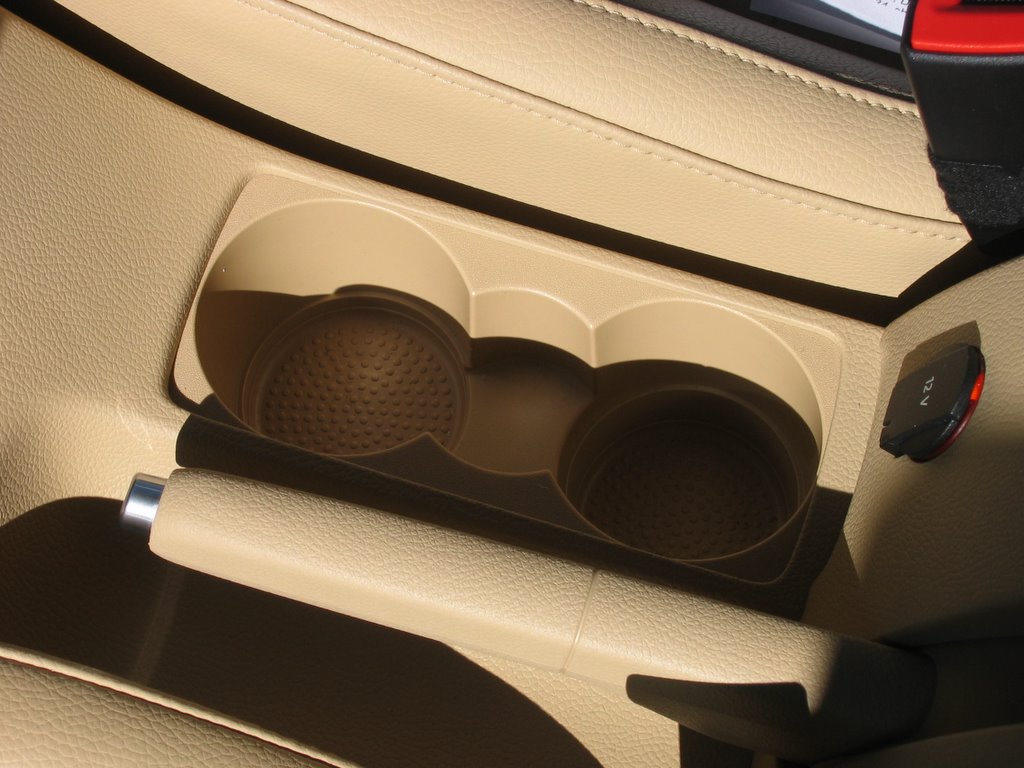
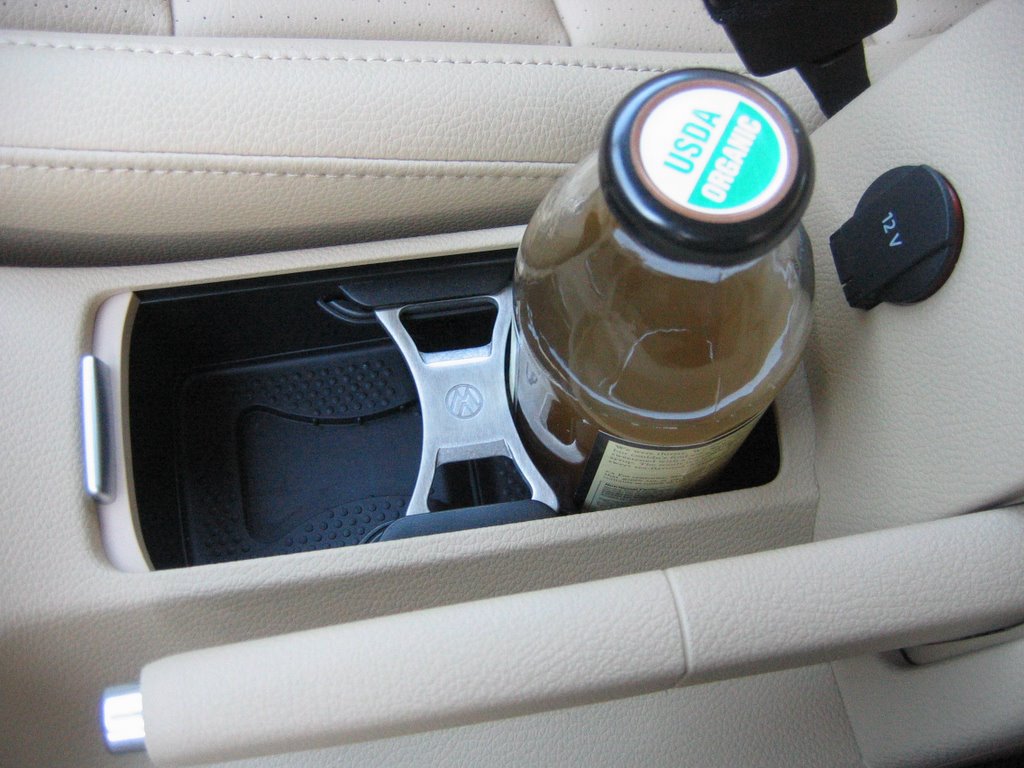
Efekt końcowy / Final effect


1. śrubokręt TORX T20 (najlepiej jeden bardzo krótki, jeden długi i jeszcze giętki wężyk),
2. coś do podważania plastików (tu się to nazywa dog-bone, czyli psia kość :-).
Potrzebny czas: około 2 godzin
---
Tools required:
1. Screwdriver TORX T20 (possibly one very short, one very long and one flexible),
2. trim removal wedge (dog-bone),
Time required: about 2 hours.
1. Wyjęcie klimatyzowanego schowka. / Removing cooled storage compartment.


2. Poluzowanie środkowej konsoli. / Loosening the center console.
Konsola jest przymocowana 9 śrubami: 4 z przodu, 4 z boku i 1 z tyłu. Trzeba wcześniej zdemontować popielniczkę i dwie boczne plastikowe osłony, a także wyjąć wewnętrzne części bocznych uchwytów na konsoli.
---
The center console is attached with 9 bolts: 4 in front, 4 on the sides and 1 at the back. In order to loosen it, it is necessary to remove the ashtray and footwell trims, as well as internal trim panels of the console handles.


Dwie śruby, którymi konsola jest przymocowana z boku. / Two screws mounting the console from both sides.


Tylna śruba mocująca konsole. / The console's rear screw.


Dwie śruby mocujące konsolę z przodu. / Two front mounting screws.
3. Wyjęcie wspornika podłokietnika. / Removing carrier for center console.
Wspornik podłokietnika jest przymocowany 7 śrubami: 2 z tyłu, 2 w części centralnej (dostępne z góry i z boku), 2 w części przedniej (dostępne z boku) i 1 z przodu.
---
The carrier is attached with 7 bolts: 2 at the back, 2 in the middle (available from the top and from the sides), 2 in the front area (available from the sides) and 1 in front.

Żeby odkręcić tą śrubę, należy podnieść do góry rurę nawiewu powietrza, która jest przymocowana na zatrzask do wspornika podłokietnika. / In order to remove this bolt it is necessary to pull up the air duct latched to the carrier.
W tym miejscu padły mi baterie w aparacie, a ponieważ robiło się późno, to stwierdziłem, że wolę skończyć robotę, a potem myśleś o zdjęciach. W każdym razie są jeszcze dwie śruby z przodu z boków (widoczne po obniżeniu foteli). Potem wyciągamy cały czarny wspornik razem z rurą nawiewu i środkowa konsola jest już na tyle luźna, że można udkręcić dwie śruby mocujące uchwyt na kubki. Tylna śruba jest widoczna na zdjęciach, przednia jest schowana, ale można się do niej dostać przez otwór na lewarek krótkim śrubokrętem. Uchwyt na kubki wysuwa się do przodu. A potem składamy wszystko w odwrotnej kolejności.
---
At this moment batteries in my camera died. As it was getting late, I decided to complete my work first, and then take pictures. Anyway, there are two more bolts on the sides in the front part of the carrier (available after lowering the seats). Next the whole carrier and the air duct can be removed. The center console is loosen enough to allow to unbolt the cupholder, mounted with two bolts. The rear one can be seen on the pictures, while the front one is accessible through the lever hole with the short screwdriver. The cupholder slides out frontwise. Installation is the reverse order.


Wujek Zdzisek z Ameryki wysłał o / posted at 6:58 PM
komentarzy / comments: 4
![]()
![]()
Super to wygląda! Też mam oryginalny uchwyt i przymierzam się do zmiany. Dzięki twojej fotorelacji będzie mi dużo prościej! Pozdrawiam .Camel.
troche to pracochłonne, ale warto. raz, że schowek większy, dwa, że nikt nie zagląda co w środku.
VW Parts Online says "Good Job!"
can i know the part no for it?
Prześlij komentarz
<< Powrót / Close